Twenty Minutes, One Knife, Two Bars: A No-Fuss Chocolate Tasting at Home
Photo: Jack Oughton, CC BY-SA 3.0, via Wikimedia Commons
You do not need a certificate, a spittoon or a special vocabulary to taste chocolate properly. You need twenty minutes, a sharp knife and the willingness to stop eating for a moment and start noticing. This is a home ritual for a British kitchen on an ordinary evening - no lab coat required.
Start with less ceremony than you think
Clear the table. Put your phone face down. Choose two bars, not six. A busy tasting is just a buffet with better lighting.
Before you open anything, sort out your palate. Water is fine. A plain cracker, a slice of apple or a small piece of bread will do more than a mouthful of mouthwash. Avoid tasting straight after coffee, tea, curry or a strong cheese, because those flavours hang around and bully the cocoa. Mid-morning or late afternoon is a good slot. You do not need to be hungry, but you do want to be awake.
The aim is not to detect forty-seven hidden flavours and announce them like a weather forecast. The aim is to slow down enough to notice four things: aroma, snap, texture and finish. That is the whole exam.
The kit is probably already in your kitchen
You need a sharp knife, a chopping board, two small plates, a notebook and a pen. A kettle is not required. Nor is a thermometer, a tasting wheel or a special wooden board with a groove down the middle.
Take the chocolate out of the fridge well before you start. Serious chocolate should be stored cool, dark and dry, but it should be tasted at room temperature. If your kitchen is chilly, put the wrapped bars in a pocket or leave them near - not on - a radiator for ten minutes. Do not microwave them. Chocolate is not a leftovers situation.
A bar at around 18-20C should snap cleanly. A bar that is too warm will bend, look dull and taste flatter. If your plates are cold, rinse them in warm water and dry them properly. Small details, but they help.
Cut small, taste slowly
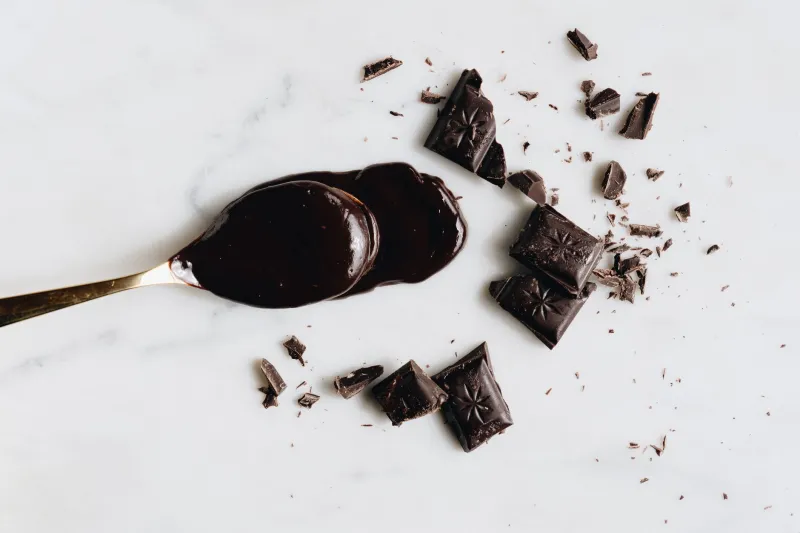
Cut pieces about the size of a small fingernail. Two pieces per bar is plenty for a first pass. Use the first piece for aroma and snap, and the second for texture and finish.
Smell the cut edge rather than the wrapper. Think in plain language: dried fruit, coffee, malt, citrus peel, toasted nuts, hay, leather, brown sugar. If nothing comes immediately, wait ten seconds and try again. Then break a piece close to your ear. A clean, bright snap suggests good temper and a decent cocoa content. A dull thud is not automatically a fault - a filled bar or a softer style will sound different - but it is worth noting.
Warm it, do not roast it
Chocolate is not a steak. You are not searing it.
Let the piece sit on your tongue and melt. Do not chew straight away. Notice whether it feels smooth, chalky, waxy or grainy. Does it coat the mouth or disappear quickly? Does it melt evenly, or leave a little grip on the roof of your mouth? If the piece is glossy and soft before it reaches your mouth, it is too warm. If it stays hard and cold, give it another few seconds.
The four things worth noticing
Aroma is the first clue. Smell before you taste, then smell again after the piece has melted. The warmth of your hand can release different notes.
Snap is the second. It is not a measure of quality on its own, but it tells you something about how the bar has been made and stored.
Texture is the third. This is where you notice whether the chocolate feels silky, sandy, thick or thin. Texture often matters more than a long list of flavour words.
Finish is the fourth. After you swallow, wait. Does the flavour fade cleanly, or leave dry cocoa, bitterness, fruit, smoke or sweetness? A long finish is not automatically better than a short one. It is just information.
Compare two bars without turning it into a test
Pick a sensible pair. Same percentage, different origin. Same origin, different percentage. A supermarket 70% next to a small-batch 70% is a genuinely useful comparison and will not break a sensible budget, especially if you split the cost with a friend and share the bars.
Do not compare a 45% milk bar with an 85% dark bar unless you actively want a lesson in contrast. Taste the lighter bar first, then the darker one. Sip water and nibble a cracker between them. Wait a minute before going back.
Ask three questions only: Which is more aromatic? Which has the better snap? Which finish do you prefer? If one bar wins on texture and the other on flavour, that is a useful result, not a failure.
A notebook, not a scorecard
Use one page per bar. Write the date, the price, where you bought it, the percentage and the origin if it is on the label. Add three words for aroma, three for texture and three for finish. No scores out of ten unless you genuinely find them useful.
The point is a memory aid. After a few months you will learn that you tend to like bars with a long, dry finish, or that you prefer red-fruit notes to roasted ones, or that you are happy to pay a little more for a particularly good snap. That is a far better result than memorising someone else's tasting notes.
Clean up and repeat
Finish with water. Wrap the leftovers tightly and put them somewhere cool and dark. Do not save the ritual for birthdays or holidays. Twenty minutes on a Sunday evening, with two bars and a notebook, is a small and genuinely grown-up pleasure.
And if you taste nothing more than 'fruity' and 'quite nice', that is still a successful tasting. You noticed. That is the whole point.